Tuesday, January 18, 2011

Shocker

5 weeks later, and the rear springs are still not here from Dallas Mustang. 

I spoke with a POR15 rep today.  This is not going to be easy, but here's the outline of how this is going to get done:

  1. Interior floor pans and front fender aprons will be thoroughly washed down with aircraft stripper.  This should remove any traces of paint.  
  2.  The aircraft stripper residue will be removed with many sponges and very hot water.
  3. What isn't removed will be sanded off.
  4. All areas of the car receiving rust-preventative paint will get a thorough washing of Marine Clean, to remove any grit, grime, oil, etc.
  5. Many more hours will be spent with a sponge and HOT water, washing off the Marine Clean.
  6. The Metal Ready* will be sprayed on the car to remove rust, etch the metal, and prepare for the POR15 paint.
  7. Once again, hours of wiping off the above with a sponge and hot water.
  8. Before the next step, I will apply some thick tape on the underside of the car, where pinholes exist.  
    1. The best solution would be to remove the pans and weld in new ones.  Unfortunately I do not have the experience to do this, nor do I have the tools.  I could learn/pay someone, but I feel that the very minimal improvement made by putting in new pans would not offset the cost.  The pans have been given several "tests" and they are very solid.
  9. Now that the metal is ready (get the pun?) the POR15 Rust Preventative Paint will be applied with foam brushes.  The paint is self-leveling, so foam brushes should work fine.
  10. After one coat of POR15, I will put down a layer of POR15 Power Mesh on the floor pans with pinholes.  This is a reinforcing fiberglass type material that will provide a little extra stiffness, and will seal the pinholes from the underside.
  11. 2 more coats of POR15 will be applied.
  12. Tape will be removed from the underside.

*Metal Ready has apparently been renamed to "Prep & Ready"
Wednesday, January 12, 2011

Someone is an idiot.


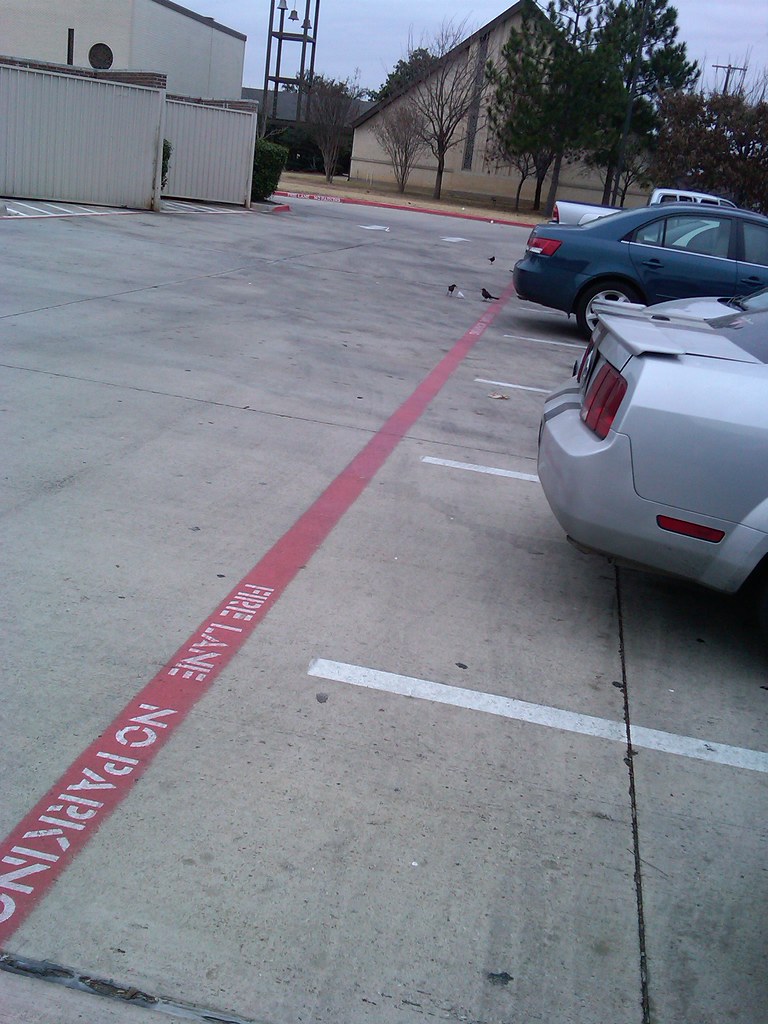
Click on the image to enlarge it.  You'll see that, yes, that is BLACK TAPE used as "racing stripes" and they did in fact create a large gap by doing a crappy job at it.  It's just....so....so bad.  This is why ricers need not buy Mustangs.

Wednesday, January 5, 2011

What was actually done...

Due to some very unexpected family issues (not bad ones!), I was actually out of town most of the break.  That's okay though, I wouldn't have accomplished a lot, as I needed some specific things I did not have.  Here's my previous list, with what was actually accomplished, and my excuses (they all stink).
  • I got some more sanding done on the front...just about all of it is gone.  Hopefully I can get the last of it.  Shouldn't be too hard.  
  • I'd like to get some aircraft stripper and give it a whirl on the fenders/hood, to see how much crap I can remove.  Problem with that is, I don't really know what to do after that.  After stripping all the paint off, to bare metal, I'm pretty much guaranteed to get surface rust on the body.  I'll need to coat it with something, but I don't know with what, or how to coat it.
    •  Didn't do this out of fear that the "fresh" metal would rust.  I need to pick up some more primers & rust preventative before I start this.
  • This is not really a goal, but would be a nice milestone.  I am supposed to pick up my leaf springs from Dallas Mustang, but I'm not sure if they'll have them this week.
    • Shocker, they didn't have them, and still don't.
  • I will attempt installing the clutch and brake pedal parts on the brake pedal support bracket.  But, I'll also be removing said bracket, to get it ready for welding (roller support bearings).
  • Thought about removing the stock export braces, but, I'd like to remove the engine eventually, and redo the engine bay...maybe.  Sheesh it sucks that I'd have to strip all of that off, after I primed & spray-painted it a couple years ago.  But, do I want to do it right?  Maybe.  Decisions decisions...
    • Removed a lot of the wiring, brake lines, etc. from the engine bay, as well as started getting it ready to pull the engine.  I also started to drain the antifreeze, only for it to barely drain out any.  I had to squeeze the hoses over and over to get it to pump out of there.  I then remembered I don't have my lift bar, which I need.  So I will get that, and I can proceed to pull it out of there, and remove the C4 (to sell).
  • Sanding down the interior, and removing the rear quarter panel parts.
    • Nope, didn't get this done, besides removing the rocker panel mouldings.

Now time to spend some more money on prepping paint stuff!